Pouring a cup from a rare micro-lot feels like hosting a private tasting in your own kitchen. The thrill sits in the details—the aroma, the body, and the unforgettable finish that only specialty beans can provide. Experimenters find themselves searching for methods to highlight those unique notes, which brings flash brewing directly into focus.
If you’re aiming to extract the most expressive and nuanced flavors from micro-lot beans, flash brewing makes an impression. This unconventional approach unlocks aromas and brightness that traditional hot or cold methods sometimes bury. The growing specialty coffee scene buzzes around flash brewing, pushing boundaries while respecting each bean’s story.
Specialty coffee lovers with a curiosity for technique or a hunger for next-level flavor are in the right place. Let’s move straight into actionable guidance, principles, and practical steps so your next cup showcases your micro-lot beans at their brightest.
Dialing In the Essential Flash-Brewing Steps
Precise steps empower anyone working with micro-lot coffee to embrace flash brewing and control both extraction and clarity. Let’s dig into each stage, using observable cues and a checklist for repeatable results.
For those approaching flash brewing for the first time, clear sequences remove uncertainty. Following a consistent process means even rare beans shine with every brew.
Prepping Micro-Lot Beans for Optimal Results
Start with freshly roasted micro-lot beans, ground just before brewing. Use a burr grinder to produce uniform particles. Coffee experts suggest a medium-fine setting, ensuring even extraction and preventing bitterness.
Inspect beans for color, aroma, and defect-free appearance. Store them in an airtight container, away from direct light, to preserve their delicate notes. Avoid exposing beans to moisture, which can spoil unique micro-lot flavors during flash brewing.
Once ready, measure the precise dose (typically 18–20g for a manual brewer) and gauge your water needs. High-quality filtered water ensures the beans’ profile remains front and center during the brewing process.
Perfecting the Ice and Pour Sequence
Fill your serving vessel with 120–150g of ice, prepped to melt evenly while brewing. Use large, clear cubes—they melt slower and avoid watering the flavors excessively. Place the vessel securely on your scale.
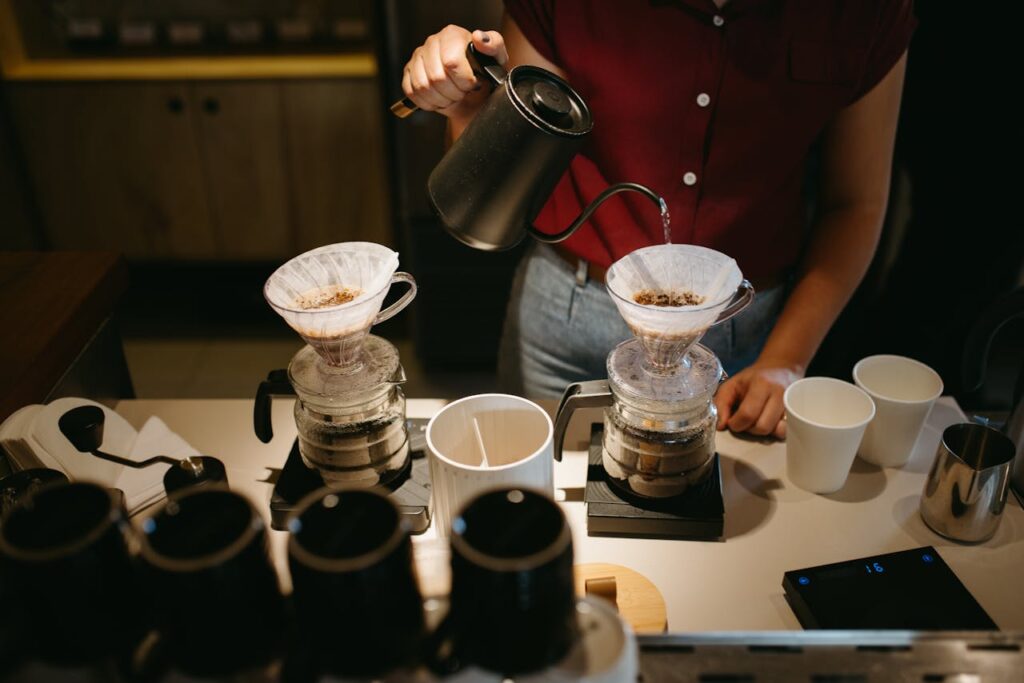
Brew directly onto the ice by pouring hot water over the grounds. Try a pulse pour: two stages, starting with a gentle bloom to release trapped gases and then a steady spiral for the infusion. Watch for blooming and take notes on aroma.
Observe the color and clarity as the hot brew meets the ice, resulting in rapid chilling that locks in acidity and complexity. Stir the finished coffee briefly for even dilution, then serve immediately for the most vibrant taste.
| Step | Parameter | Cue for Adjustment | What to Do Next |
|---|---|---|---|
| Grind Size | Medium-fine | Too sour or weak | Go finer by one notch |
| Coffee Dose | 18–20g | Thin mouthfeel | Increase dose by 2g |
| Ice Volume | 120–150g | Bland or watery | Reduce ice by 20g |
| Water Temp | 200°F (93°C) | Muted flavors | Raise temp by 2°F |
| Total Brew Time | 2:30–3:00 min | Overly strong/bitter | Shorten pour time |
Tuning Flavor by Adjusting Timing and Dilution Ratios
Refining the flavor from micro-lots in flash brewing happens by making deliberate tweaks. Two levers—timing and dilution—unlock brighter or juicier profiles by tailoring the strength for every cup.
Think of tweaking ratios as tuning a stereo for new music: adjust the timing or dilution for a crisp treble or a warmer bass—every micro-lot reveals something different.
Brewing with a Precise Pulse Approach
Pulsing water in controlled pours extracts distinct fruit, herbal, or floral notes often hidden in hot-only or cold-brew methods. Stick to three pours: bloom (30–45 seconds), main pour, finish. Pause for 10 seconds between each to manage flow and extraction.
- Add bloom water evenly. This refreshes grounds and releases CO2, setting up a vibrant extraction for micro-lot coffees with dense or complex structures.
- Use a slow pour pattern. Spreading water evenly prevents channeling—essential for drawing the nuanced acidity specialty beans deliver after flash brewing.
- Timing each pulse helps target acidity or sweetness. Short pulses heighten acidity; longer ones round out the cup. Track each experiment directly in your brew log.
- Finish by pouring around the edges. This brings out layered aromas—perfect for rare beans with floral or citrus top notes.
- Stir the finished coffee briefly. Uniform dilution ensures you don’t miss fleeting high notes in the micro-lot’s profile.
These detailed adjustments give you real-time feedback. “That’s brighter—let’s add 10 seconds next time” is a phrase frequent flash brewers use at their home bar.
Using Dilution Ratios Explored by Experts
Leading coffee professionals recommend starting dilution at roughly 1:12 (coffee to water plus ice combined). Observe mouthfeel and adjust next batch to 1:10 for richer, syrupy notes or 1:14 for crisp highlights.
- Calculate total beverage weight before pouring. For 20g coffee and 180g hot water, add 120g ice for a final 320g—yielding a balanced extraction that spotlights delicate flavors.
- Track ice melt. Too much dilutes vibrant notes, while too little muddles them. Try a 40/60 ice-to-hot-water split to keep sweetness and body tightly controlled.
- Swap ice types if needed. Clear ice from boiled water preserves clarity, whereas cloudy cubes may add off-notes from freezer odors—reliable flash brewers always make fresh ice.
- Stir after brewing. Fully integrate meltwater for even sweetness. A gentle figure-eight motion combines without jostling aromatics out of the cup.
- Log every tweak. Record flavor cues, dilution ratios, and ice quality after each flash brewing session, so your next micro-lot attempt matches your exact preference.
Consistent note-taking sharpens your instincts; taste memory grows, helping you chase each micro-lot’s potential during every flash brewing experiment.
Equipping Your Home Setup for Micro-Lot Flash Brewing
A few targeted upgrades transform your home bar into a micro-lot showcase, letting your investment in rare coffees shine through each flash brewing session without fuss or waste.
Intentional gear choices improve consistency, reduce guesswork, and drive results that reward curiosity—mirroring behaviors seen in expert home baristas intent on expressing every nuance.
Choosing a Grinder Designed for Micro-Lot Consistency
Look for burr grinders with tight particle size distribution; excessive fines muddy micro-lot flavors. Adjust for medium-fine output, and recalibrate after switching between washed and natural-process beans for repeatable flash brewing performance.
Wipe burrs regularly—bean oils from earlier batches compromise future flavor. Practice a quick “purge grind” of one gram with each new coffee, just as pros do before chasing ultra-clarity in rare beans.
Confirm grind adjustments using a visual sieve test or feel. Perfected flash brewing comes from keeping grind adjustments precise when your micro-lot stash rotates weekly.
Dialing In Advanced Scales and Kettles
Invest in a scale that measures to 0.1g, with a fast response time. This accuracy is indispensable when managing dilution and extraction times. Weighing before and after brewing keeps your process tight—no guesswork, no wasted micro-lots.
Choose a gooseneck kettle with stable temperature control. Keep water at 200°F for most micro-lots, but experiment by lowering to 196°F for very fruity profiles or nudging higher with natural-process beans to unlock extra depth.
Program pour speed and timing into your workflow. Practice until it feels second nature; after all, every flash brewing session benefits from a repeatable, practiced rhythm that keeps your rare beans on center stage.
Comparing Flash Brewing to Classic Cold Brew and Hot Methods
Tasting micro-lot flash-brewed coffee next to cold brew or manual pour-over reveals stark differences in body, aromatics, and transparency. Results quickly shift perceptions about what’s possible with specialty beans hand-picked for flavor.
Flash Brewing: Fast Chilling Locks In Freshness
Flash brewing, pouring hot-over-ice, preserves bright acidity and aromatics that sometimes vanish in classic cold brew, where low temps extract only some components. The hot infusion stuns the aromatics and shields delicate flavors.
Drinkers observe sharper fruit, tea, and florals—especially pronounced with washed or anaerobic micro-lots. The rapid chilling is responsible for moments when someone exclaims, “That’s the watermelon note!” from a rare micro-lot.
Extended cold brew infuses for 12–24 hours, yielding soft body and mildness. Some specialty coffee drinkers prefer this for chocolate or spicy notes but lose the chance to chase top-end vibrance only flash brewing preserves.
Flash Brewing versus Manual Pour-Over: Clarity and Coolness Reconciled
Traditional pour-over, while excellent for clarity, doesn’t deliver the same refreshing chill or crisp texture as flash brewing. Pouring over ice directly gives you a ready-to-drink, cool cup, even in summer.
When sharing with others, flash brewing brings the “wow” effect: clean flavors, quick chilling, and instant access to every micro-lot’s intricate highs without waiting for cooling time.
Adjustments that would blur in manual methods stand out in flash brewing, making it ideal for those dialing in details at a hands-on home bar.
Leveraging Micro-Lot Origin and Processing for Results
Knowing the exact origin and processing of micro-lot beans shifts your flash brewing outcomes. This section explores tracing flavor patterns, adjusting for washed, honey, or natural processes, and scripting flavor discoveries.
Approaching each micro-lot with curiosity—rather than routine—unlocks those wild, unexpected notes such as lemongrass from an Ethiopian or tropical fruit from a Colombian natural.
Interpreting Flavor Cues by Region and Process
Look for acidity and floral highs in washed Ethiopian Yirgacheffe micro-lots. When flash brewing, drop ice by 10 percent and pour just a bit slower for heightened clarity. The result: “It’s citrus—like lemon blossom,” you’ll remark on the first sip.
With honey-processed Panama Gesha, increase the coffee dose by 1–2g and extend the total pour time by 15 seconds. Chasing syrupy sweetness pays off with a deep, balanced finish that lingers.
Flash brewing Kenyan natural-process beans means reducing water temp to preserve delicate fruit notes. Listeners at your coffee table will comment, “That is straight passionfruit,” as the chilling process highlights elusive top notes.
Tailoring Variables for Minimal Waste
Rare micro-lots need cautious scaling. Brew smaller cups (try 200g yield) and use single-cup drippers. Watch crema foam and surface texture; split the cup with a friend to share tasting notes on-the-spot.
Keep a digital journal beside your scale. Record: bean name, grind adjustment, ice/water split, and key flavor hits. As you trace these discoveries over time, valuable brewing habits emerge for future micro-lot flash brewing sessions.
Test adjustments as a team by brewing two variations at once, serving flights side-by-side to spotlight processing differences—especially for those new to the world of flash brewing for rare beans.
Conclusion: Micro-Lot Flash Brewing Brings Home the Café
Authentic micro-lot flavors burst forward when you fine-tune every step of the flash brewing process. Precise adjustments with grind, ice, and ratios coax out rare notes that would otherwise go unnoticed.
Each session unlocks new territory: brighter acidity, richer body, and head-turning aroma. Flash brewing rewards both careful note-takers and everyday improvisers, turning your own kitchen into a micro-lot tasting room.
Lean into experimentation—change one thing per batch, savor the difference, and let flash brewing help you explore your specialty coffee journey, one rare cup at a time.
Frequently Asked Questions
What is flash brewing, and why does it work for micro-lot coffee?
Flash brewing is a hot-over-ice method that rapidly chills coffee, preserving bright flavors and vivid aromatics. For micro-lot beans, this process showcases complex notes that can get lost in traditional cold brew or slow hot extractions. Rapid chilling helps especially with washed or fruit-driven profiles.
How is flash brewing different from classic cold brew or pour-over?
Cold brew extracts flavors at low temperatures over many hours, yielding a rounder but muted profile. Pour-over gives high clarity but is best enjoyed hot. Flash brewing combines the best of both—clarity and chill—helping micro-lots stand out immediately without losing top aromatic notes.
What equipment do I need to flash brew specialty micro-lots at home?
You need a burr grinder, a scale accurate to 0.1g, a gooseneck kettle with temperature control, quality filters, and fresh ice. Single-cup drippers (like a V60 or Kalita) work best for consistency and allow for precise adjustments batch-to-batch.
Will every micro-lot benefit from flash brewing, or are there exceptions?
Most shine in flash brewing, especially beans with pronounced fruit, citrus, or floral notes. Some very delicate lots or those roasted for espresso may need lighter dilution or shorter brews. Always experiment with small batches to find the method best matching each bean’s natural character.
How do I keep track of findings for each micro-lot I flash brew?
Use a simple brewing log with columns for bean name, roast date, grind size, ratio, and flavor notes. Even a quick smartphone photo with notes after each cup builds a record. Reviewing and repeating the best results helps refine your technique for every new micro-lot.